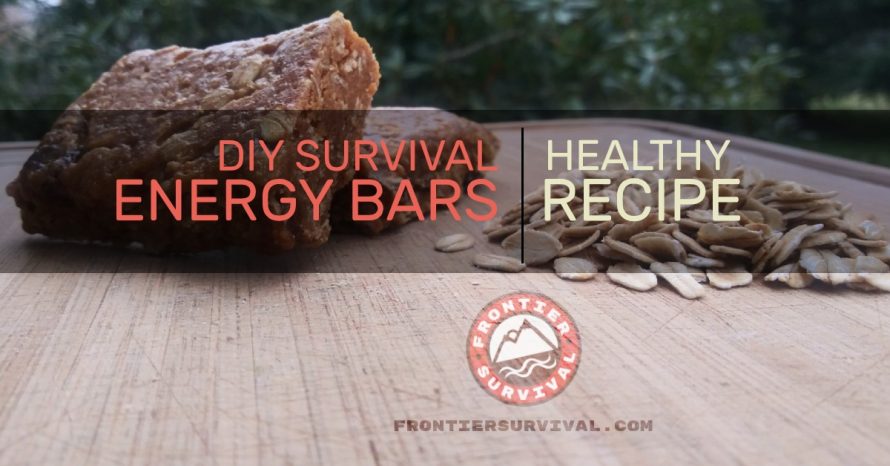
Having enough calories per day is an essential part of surviving in an emergency situation, and energy bars can pack quite a punch when it comes to getting sufficient calories. The problem is that most of the energy bars you can buy in stores either taste like crap, or they have ingredients you may not want your family to eat. The good news is that you can make your own delicious AND healthy homemade energy bars that also work great as “ration bars” for your bug out bags, survival kits, and food storage!
What’s even better is these homemade energy bars are super easy to make. You only need a handful of ingredients, a few hours of dehydration on the lowest setting of your oven, and a vacuum sealer. The ingredients contain healthy sources of protein, iron, salt and fat. The sweeteners are natural and will give you the boost of energy, nutrition ,and calories you need.
The best part about these homemade energy bars is…you know exactly what ingredients are used to make them. No surprises. No mystery gelatin, no high fructose corn syrup, and no chemical additives. That is also what makes them something you can eat more often! Plus, you can alter the recipe to suit your specific tastes or needs (like swapping out peanut butter for almond butter).
These are “no bake” energy bars, and they can be consumed without dehydrating them, but the texture will be soft and sticky. Dehydrating them will make them firm and chewy and a lot easier to eat on the go. They take about 15 minutes to make, a few hours to dehydrate, and another 5-10 minutes to seal and store.
Here are the Ingredients You Need to Make These Tasty Homemade Energy Bars
- 2 C Quick oats or rolled oats, lightly toasted (quick oats are less chewy)
- 1 C Chunky peanut butter
- ¼ C + 2 T Honey
- 2 C Powdered milk
- 1 C Brown sugar
- ¼ C Molasses (for added iron)
- ¼ C Water or Fruit Juice
- Splash of bottled lemon juice
- Optional : Dried fruit like raisins, coconut, apricots, etc.
- Food processor & vacuum sealer with plastic sleeves for the number of bars you make
Step One : Mixing your dry ingredients together
In a large bowl, place your oats, powdered milk and brown sugar together and stir until combined. Set aside.
Step Two : Mix your wet ingredients together
In a separate bowl, mix the lemon juice, honey, molasses and peanut butter together and add your dry mix to the wet mix and stir until the oats are thoroughly coated and you have a thick batter. Mix in any dried fruit.
Step Three : Shape your bars
Line a baking sheet with parchment paper and place the batter onto the sheet and place another sheet of parchment paper on top. Press out the batter into an even layer and score the batter into the size bars you want to have. Refrigerate for 1-2 hours. Remove bars from the fridge and cut them to separate completely.
Step Four : Dehydrate your bars
Place your bars onto a mesh tray and dehydrate them for several hours until they reach the consistency you desire – just remember to flip them over half way during the dehydration process.
Step Five : Store your homemade energy bars
Remove the bars from the dehydrator and allow them to cool down to room temperature, or place them into the refrigerator for 1 hour. Prepare your vacuum sealer and seal the bars for storage. These will last for 6 months if kept in a cool, dark and dry place. The peanut butter is really the only ingredient that could go “rancid” so make sure to make more every 6 months.
That’s all there is to it! Now you can make these tasty, healthy, storable homemade energy bars for your survival provisions. Make some today to include in your family’s bug out bags and survival kits.


